
Why Wedding Planning Often Feels Like Chaos (and How We Change It)
Wedding planning doesn't have to be stressful. Learn how to stay organized, keep the joy alive, and actually enjoy the j...
What is the golden hour—and how can you use it for photos and videos? Get practical tips and #NerdKnowledge: iPhone Pro settings for wow-worthy light.
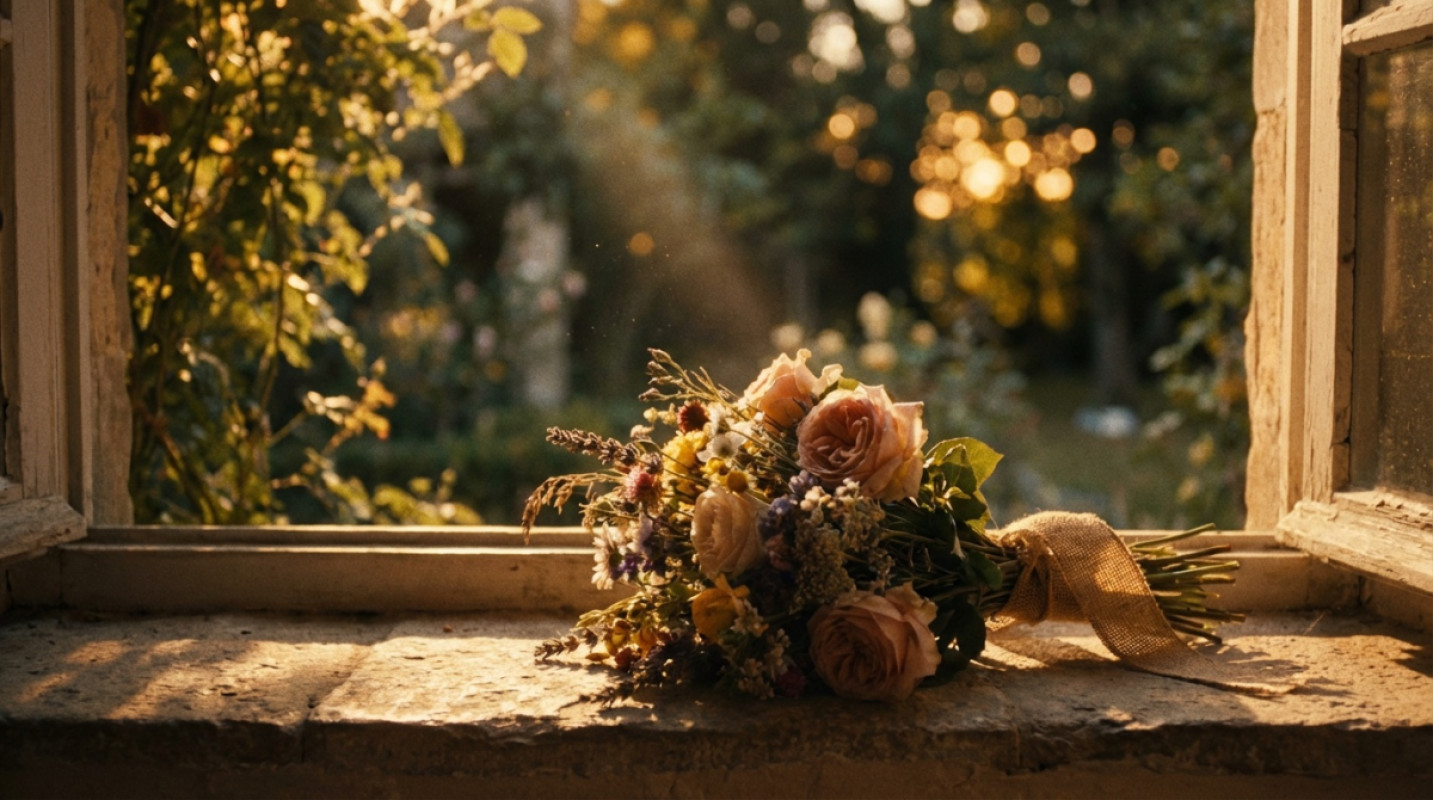
The golden hour is the window of time shortly after sunrise and just before sunset. The light is soft, warm, and casts from the side. It flatters skin tones, shapes contours, and adds that cinematic depth that instantly makes your images look more professional. For visual storytellers and tech enthusiasts, it’s the most natural beauty light—no setup required.
Plan backward from the sun’s position. Arrive 15–20 minutes before it starts so you can settle in, test shots, and begin relaxed. Weather apps give you a rough estimate; clouds aren’t a dealbreaker. They act like a natural diffuser, making the light even softer.
A white cloth, a light scarf, or a bright wall works as a reflector. For video: a slow walking pace and steady camera movement give scenes that cinematic flow. Use natural “frames” like doors, arches, or windows.
If you switch lenses: wide-angle for storytelling and scenery, a 24–35 mm look for people and details, and longer focal lengths for compressed backgrounds and that buttery-smooth bokeh. On the iPhone, the 1x camera delivers the best base quality, while 2x compresses the background more effectively.
The golden hour isn’t a luxury moment—it’s daily potential: an evening stroll after work, a city walk on vacation, or a first-look rehearsal on the weekend. Look for spots with open horizons, water, or light-colored facades. In summer, the window is longer; in winter, it’s shorter—but often spectacular. Plan short, focused mini-sessions: five minutes for portraits, two minutes for details, then a quick clip for Reels.
Want more control? Here’s how to get even more out of your iPhone Pro—even solo, without a team:
Whether it’s a proposal, save-the-date, or just a quiet everyday moment—the golden hour turns memories into visual anchors. If you’d like professional support, check out photographers on wedset who know how to read the light. And in our Picture Hub, you can curate your best moments clearly for yourself and your community.
Depending on the season and location, about 30 to 90 minutes around sunrise or sunset. In summer, it’s usually longer; in winter, shorter.
Yes. Clouds act like a diffuser. The look becomes softer, and the colors slightly cooler. Keep an eye on exposure and look for bright reflective surfaces.
The blue hour occurs just before sunrise or after sunset. The light is cooler and more even—ideal for cityscapes, silhouettes, and moody videos.
wedset.app helps you plan your dream wedding. From the guest list to the timeline - we have everything under control.
Discover more helpful tips and ideas for your wedding
Wedding planning doesn't have to be stressful. Learn how to stay organized, keep the joy alive, and actually enjoy the j...

How to build your day-of timeline: times, buffers, examples – with tips for classic, relaxed, minimalist. Start of the A...
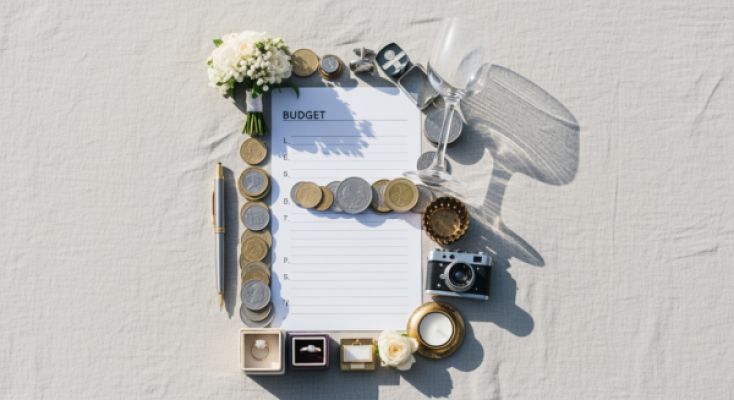
Wedding budget planning: Set priorities, avoid hidden costs, and save smartly – with a 10% contingency plan!